Mt St Helens - Worm Flows (winter) Climbing Route
Mt St Helens is one of Washington State's most popular winter climbs for both aspiring and experienced mountaineers. The mountain is easily accessible and presents a manageable level of risk for a beginner while at the same time offering opportunities to gain experience in an alpine environment, majestic 360-views, and under the right conditions, a 5700ft crater-to-car descent via ski or snowboard.
Winter vs. Summer Route
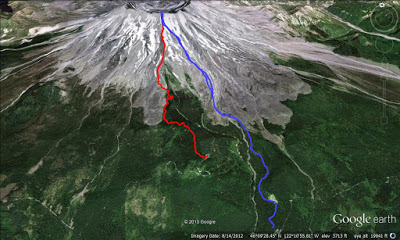
This description covers the Worm Flows Climbing Route, the standard winter approach to the crater (in blue on the map) that begins at the Marble Mountain Sno-Park . The summer climbing route via Monitor Ridge (in red on the map) starts at Climber's Bivouac and is typically not accessible until June. The routes merge at the top of Monitor Ridge.
(The Worm Flows route can be used year-round, but most people prefer to start at Climber's Bivouac once it's open because of the reduced elevation and distance)
These are two very different climbs. The summer route is shorter and has less elevation gain, but it's entirely on sharp rock or soft ash once you leave the trail. Coming down is not much easier since you have to downclimb the same rocks. Plus temperatures can range into the 90s, and there's no cover or water once you get above the treeline. Here's a representative video of a summer climb.
The winter climb can be faster and is generally less tiring, even with the extra distance and elevation, especially if you bring skis or a snowboard for a descent.
Permits
All climbs above 4800ft require a permit. The cost, quotas, and purchase methods vary according to the season:
- November 1 - March 31
- Climbing permits are free and unlimited. Get them at the Marble Mountain Sno-Park trailhead before you start your climb. You will also need a Sno-Park permit. Get one online.
- April 1 - May 14
- Climbing permits cost $21 (for 2021) and are limited to 300 per day. Get them online. You do not need a permit for the Sno-Park.
- May 15th - October 31
- Climbing permits cost $21 and are limited to 110 per day. Get them online. You do not need a permit for the Sno-Park.
Starting in 2021, permits will be released for the following month on the first day of the current month at 7am (e.g. April permits will be released on March 1st at 7am Pacific Time) but check the permit link above early in the year to make sure nothing has changed. Weekend permits, and any date in the summer months, sell out almost immediately and there is no lottery system, so be ready at 7am. Late March is an ideal time for a spring climb because you can avoid all the climbing permit hassle.
The Route
There's no water at Marble Mountain Sno-Park, so be sure to arrive with enough for the entire trip. Depending on the season and the conditions, there may be water available along the way at lower elevations, but don't count on it.
The route is roughly 5.5 miles one-way and the starting elevation is ~2650 ft. You'll top out at ~8350 ft. for about 5700 feet of elevation gain. Depending on conditions, the first few miles of the trail may be under snow or clear, but the route can be entirely snow-covered well into spring. As the snow melts out, you will have the option to do the lower parts of the climb on rock and then eventually, all the climb on rock. Your time will vary based on fitness level and pace, but expect to spend 7-12 hours for the full climb.
In late winter and early spring the route is generally well-marked and easy to follow, but whenever you climb, make sure to carry a map and GPS as backup. The trail starts on the north side of the Sno-Park. Check the map board, then follow trail 244 - Swift Creek. There will be blue diamonds on the trees along the route to guide you. This map from the Forest Service shows the trail system. Note that there are several 'side routes' you can take (244B, 244C) until they meet with the primary trail a little below the treeline.
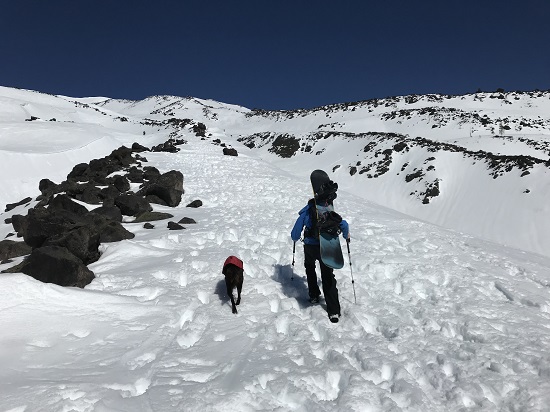
Approximately 2 miles into the hike, you'll emerge from the trees around 3750 ft. then turn west to cross Swift Creek above Chocolate Falls . There will be a sign for the Worm Flows Route, and there are others along the way, but they are easy to miss and can be completely covered by snow. Just follow the obvious route along the west side of the creek and up the Worm Flows Ridge. In the spring there will usually be plenty of people or tracks to guide you; in deep winter, do not expect that to be the case. At 7400 ft., the summer and winter routes meet on Monitor Ridge. From there it's a steep climb, 850 more feet, to the edge of the crater.
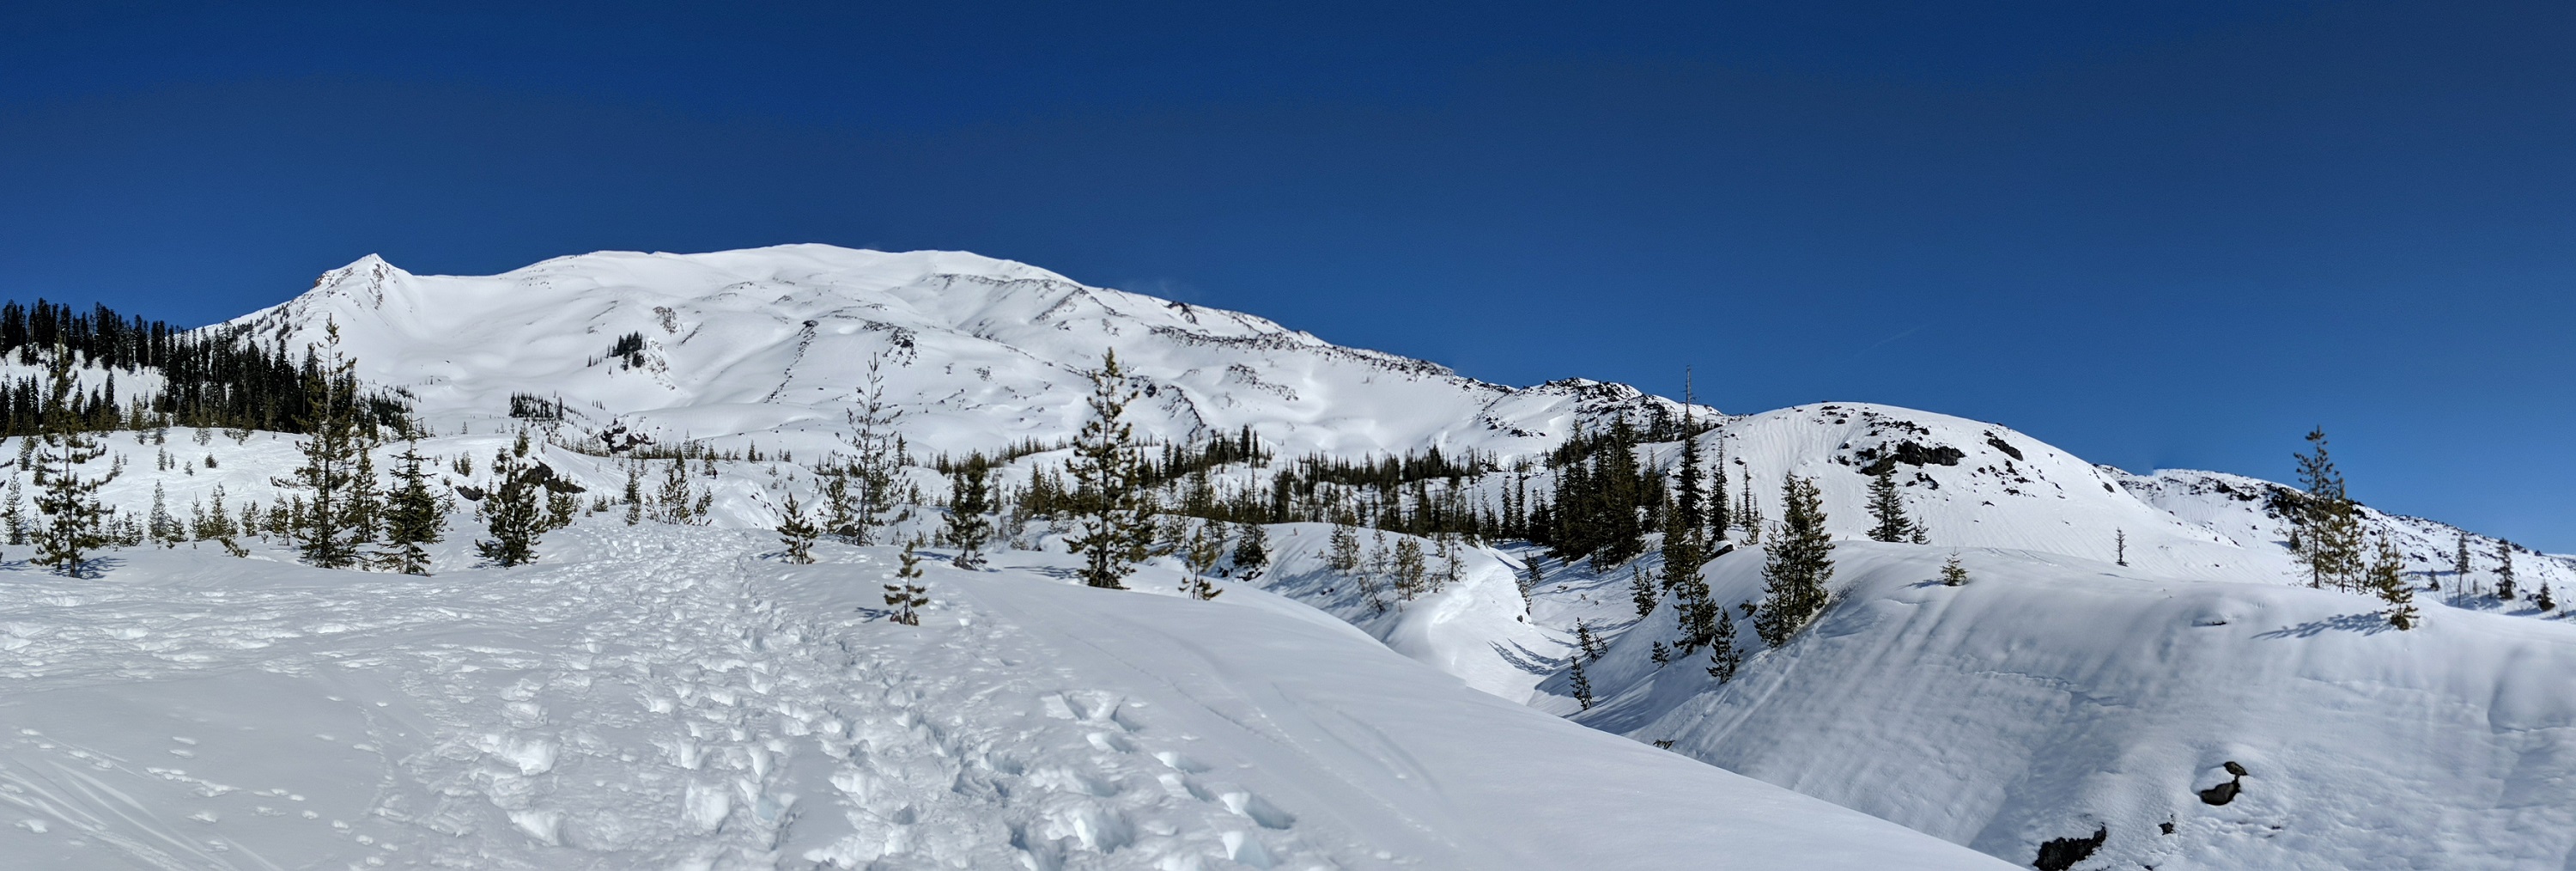
There are great views when you finally reach the top, and a lot of people will end their climb at this point. However,the true summit is roughly a quarter-mile to the west, 100 feet higher. In either case stay away from the cornice! People have fallen into the crater.
The Descent
There are several routes down from the top via skis or snowboard, but the two most common are either heading directly back down the climbing route, or swinging wide to the west (skier's right) and then rejoining the trail at roughly 3600ft . If you descend to the west, don't go over Monitor Ridge or cut back to the route too late and get funneled below the trail on the southwest side. Once you get back below the treeline, the trail can be harder to navigate, especially on a snowboard, because of the number of people and the deep boot track in the snow.
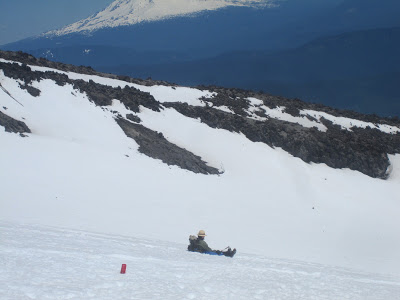
There will also be plenty of glissade chutes for people without skis or snowboards. Just remember to assess the snow conditions first, and use an ice axe to control your speed. Never glissade with crampons or snowshoes! It's an easy way to break an ankle.
Additional Information
- Driving Directions:
- The fastest way to get to the trailhead from Seattle is to take I-5 south to Lewis River Road/WA-503 (exit 21) and follow it east through the town of Cougar and on to NF-90. Break off 90 at NF-83 and follow the signs to the Sno-Park.
After about mid-June, when the roads open, you can take the more scenic, but slower route down Forest Road 25 along the east side of the mountain. It runs for about 40 miles from the town of Randle to FR-90. The turn-off for Windy Ridge is about halfway if you want to view the north (blast) side of the mountain. - Gear:
- Make sure you have the Ten Essentials , an ice axe, crampons, and possibly snowshoes, as snow conditions dictate. Temperatures can fluctuate dramatically over the course of a climb, so layer your clothes appropriately.
- Navigation:
- Green Trails Map 364S - Mt St Helens Climbing
GPS Track (this is only the route up and it stops about 100ft below the crater) - Current Conditions:
- Avalanche conditions from NWAC
Climbing conditions from the Mt St Helens Institure (has links to mountain forecasts, snow pack, and fire information)
Campground, road and sno-park conditions from the Forest Service - More Route Guides:
- The Forest Service's Mt St Helens climbing page
The Forest Service's Worm Flows route page
The Mt St Helens Institute's route description
The WTA's trail summary and condition reports